this tutorial is splitted in 2 parts
first is getting the model in game and second part is about textures and materials
i wont show you the basics of 3ds max
you can find several tutorials on youtube about it
Part 1
Model and RiggingDrag n Drop the .esk and .emd into emdfbx.exe
.esk is the skeleton and .emd is the 3d model
Import the new .fbx into 3ds max
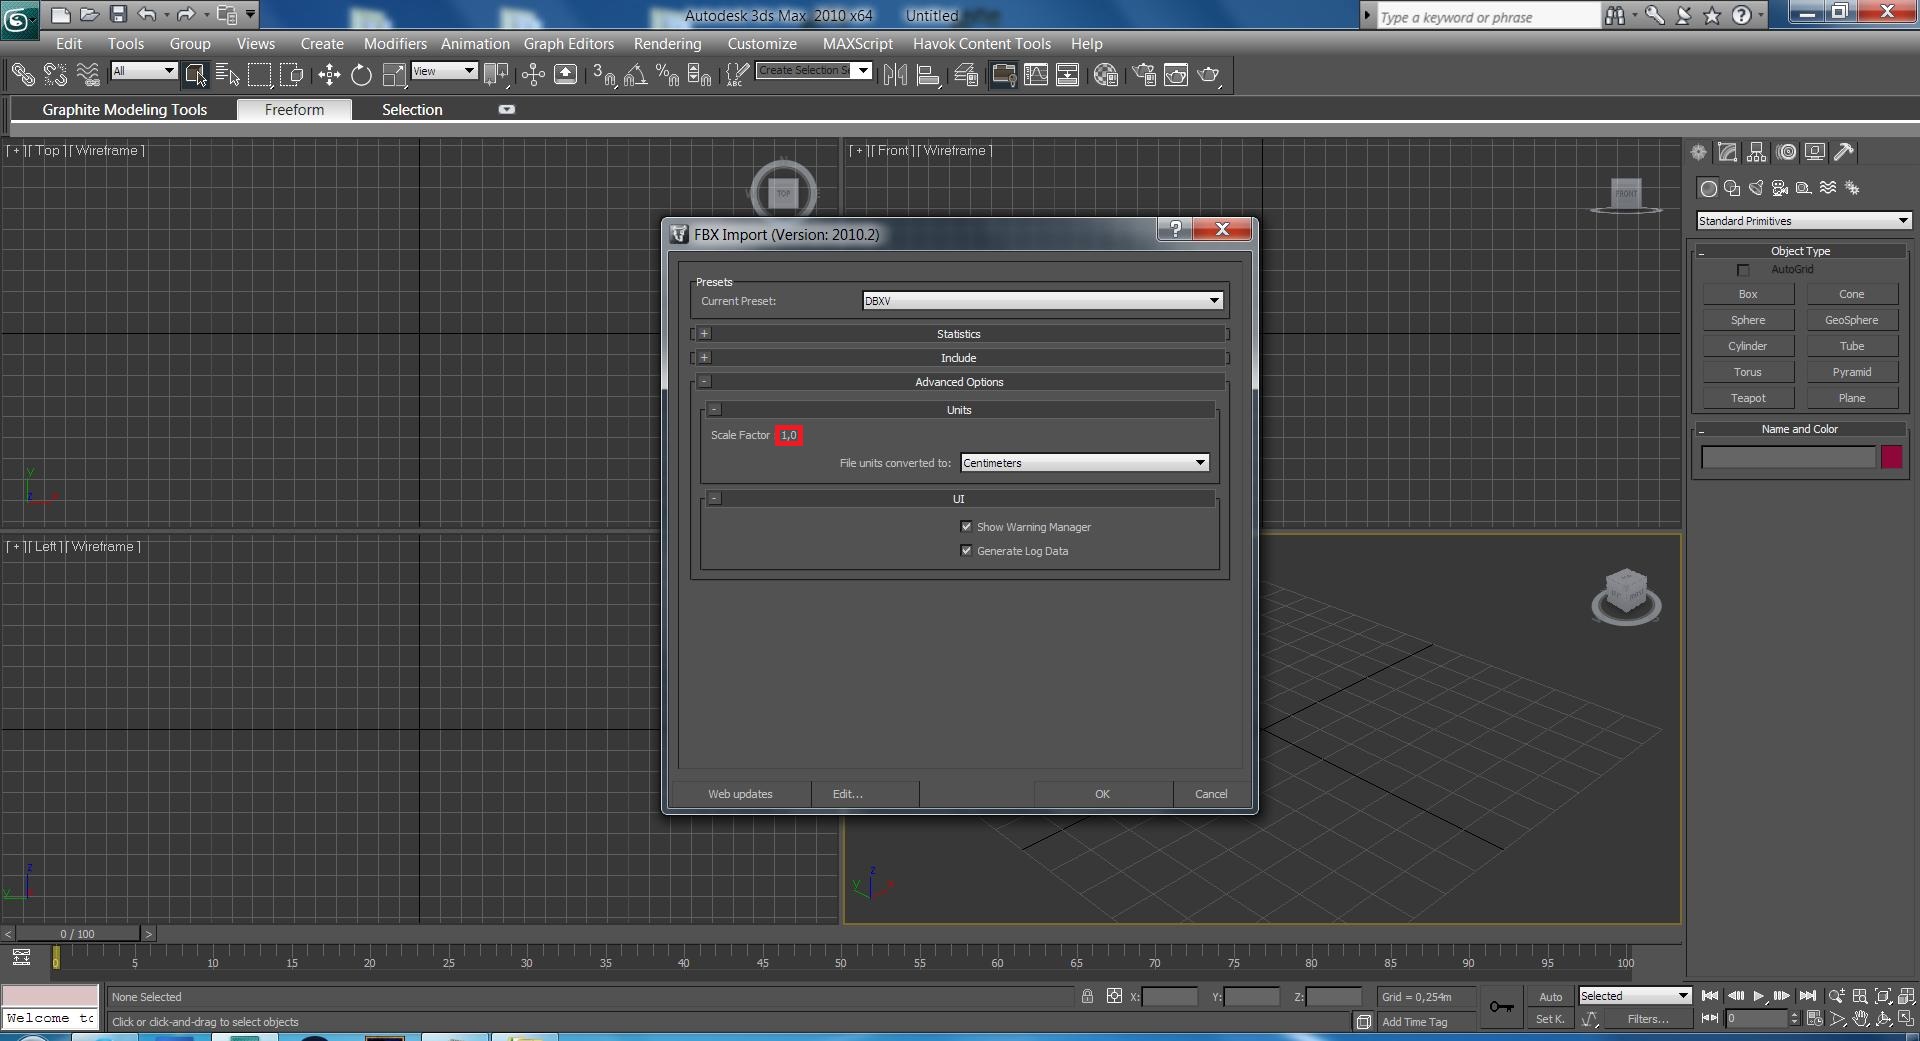
when you import the .fbx you should get a popup with several options
just leave everything untouched except the "File Units convertet to" option
change it to Centimeters and the Scale Factor should be 1,0 now
this is necessary to scale the model properly
if its not 1,0 the model will be bigger or smaller

if you get a warning message just click ok
now you should see your 3d model with the skeleton

Now you can import a model you want to see in the game and start rigging with the skin modifier
i wont show you how to rig here. There are several tutorials you can look up
when you finished with your rig export the model
again take care to the Scale Factor and make sure its 1,0
also set the Up Axis to Y-up

drag n drop your exported .fbx into fbxemd.exe to convert the model back to .emd
now you can repack the new .emd and you should see it ingame but without textures
Part 2
Texture and Materialtexturing the model is a bit limitated at the moment
you only can apply one color to one element of the model
also your whole model should have only 1 texture
if it has more then one merge the textures and edit the uv maps so you only get one texture. This doesnt mean that the whole model should be 1 texture but one texture per model part. For example you can have one texture on the bust but another one on the pants.
but you understand when you follow the tutorial
at first we are going to work on the alpha texture
the alpha textures are in the .emb files
the alpha textures only shows eveything that is black on the model like contours or creases
this is the texture im using

in the alpha layer everything you color white shows up black ingame
and everyting thats black is transparent ingame
this is how my finished alpha layer looks like

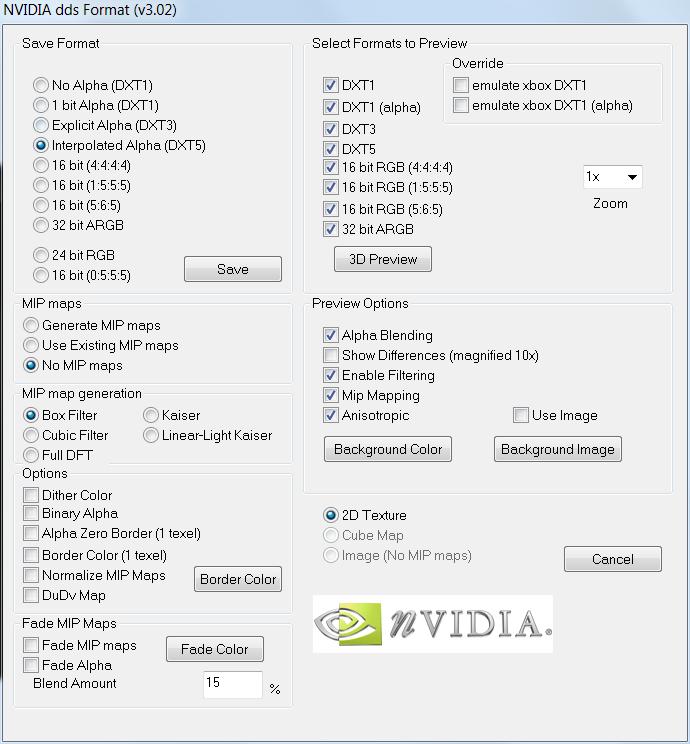
make sure you save it with with a dxt5 alpha layer
i use photoshop with the nvidia plugin
these are the settings im using

for the next step we need to split the model in different elements for each color
the model should be 1 mesh but splited by element
that means that on each element you can aplly one color+shading
so that means basicly that everything on the model that has the same color should be a seperate element
these are the elements for my naruto bust model

open up the material editor and create a new Multi/Sub-Object material
add as many sub materials as many colors you have on the model
for me its 7
apply your texture on every sub material and name the materials 1,2,3,...

now we need to tell which element uses which submaterial
select your elements and under Surface Properties set your IDs

after you set all the ids to elements you can export the model and convert it to .emd
now we need to edit the .emm to color the model
drag n drop the .emm into emmxml.exe
and open up the new emm
delete everything except the first material

now copy the first material and paste it as many sub materials you got
name them like the sub materials in 3ds max

in the materials you should see this line

these tell the game which row of the .dyt.emb the game apllys to the model
change the value for every sub material in your .emm

when you finshed editing the colors of the texture save it and repack it in .dyt.emb
also save your .emm.xml when you finished editing and convert it back to .emm
now repack everything into your .cpk and test it in game